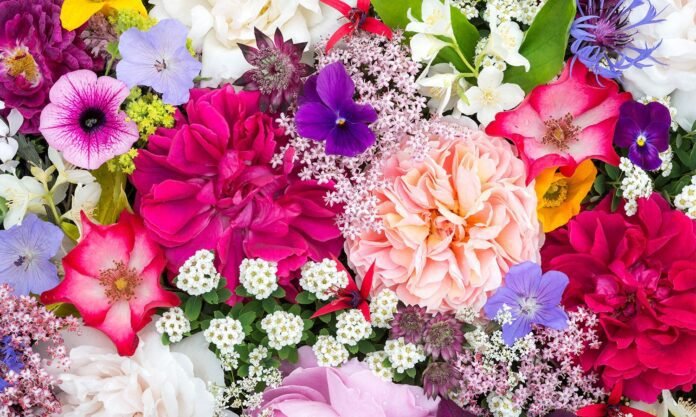
The lovely and simple pastime of making paper flowers is a great way to add the beauty of flowers to your home. Making paper blooms is a fun and creative project, whether your goal is to make a colorful centerpiece, a gorgeous bouquet, or just a little bit of nature in your surroundings.
We’ll look at a simple yet flexible method for making paper flowers in this step-by-step tutorial, which can be made in a variety of sizes and forms. You can also use used gum wrappers to create lovely colorful hearts. Go online and look up how to construct a heart out of a gum wrapper for further information.
Supplies Needed:
Paper scissors with color
Stick glue or glue gun
Wooden skewer or pencil with green floral tape or wire
To make flowers out of used paper, follow these steps:
Step 1: Assemble Supplies and Select a Flower Design
Make sure you have all the required supplies before you start. Choose the kind of flower you wish to make. You can use a straightforward flower with five petals as an example for this.
Step 2: Shape the petals.
Using your colored paper, cut out five shapes that resemble petals. These can take on any desired shape, including oval or heart. For uniformity, you can also make a template and trace it onto the paper. To give the appearance of naturalness, adjust the petals’ sizes. For the outside layer, you can cut larger petals, and for the inner layer, smaller ones.
Step 3: Curve Petals
Gently curl the edges of every petal using a wooden skewer or pencil. This gives the petals a lifelike, organic curvature. Curl them outward to create a blooming look, or inside for a more closed bud.
Step 4: Establish a Floral Center
To create the center of the flower, cut a little circle out of paper that is a contrasting color. You can also choose to create a spiral pattern or cut fringe to give texture to the center.
Step 5: Put the Flower Together
The petals should be arranged in a circle with some little overlap. Try several arrangements until you get the desired effect. To ensure a strong binding, apply glue to the base of each petal and press it onto the center. Till you have a full blossoming flower keep adding the petals in alternating sizes.
Step 6: Connect the Stem
Cut a strand of green floral wire to the length you want. Whether you choose a longer stem for a bouquet or a shorter stem for a decorative arrangement will determine the length. Put a tiny bit of adhesive on one end of the wire and stick it into the flower’s base. Make sure it is fastened firmly.
Step 7: Use floral tape to wrap
Wrap the flowery tape around the wire, gradually working your way down from the base of the flower. To use the tape’s adhesive qualities, pull it gently as you wrap. Wrap the stem continuously until it reaches the desired length. Cut out any extra wire.
Step8: Arrange and Form Petals
To get the desired shape, gently handle the paper petals. For a more compact appearance, keep them closer together; for a larger impression, spread them out.
Step 9: Make Several Flowers
To make as many flowers as you require for your project, repeat the procedure. To add variation, try out various petal shapes, sizes, and colors.
Step 10: Set Up and Present
Once you have an assortment of paper flowers, you may use them as separate accent pieces, arrange them in a vase, or make a bouquet out of them. Try out various configurations and combinations to create the most eye-catching show.
Final Thoughts
In conclusion, making paper flowers is a fun and adaptable project that lets you express your creativity and bring a little bit of nature inside. This tutorial offers a fundamental structure for making paper flowers.
However, feel free to play around with various sizes, shapes and colors to fit your style and design concepts. These paper flowers whether used as handcrafted gifts as part of a bigger art project, or as stand-alone decorations, will add beauty and elegance to any setting.


